In the late 1990s, at a conference hosted by the Energy & Environmental Building Alliance, I was one of the trainers in the “Energy Efficiency 101” track. As you might expect, we spent time discussing the importance of doing a thorough job of air-sealing the building envelope. While the students found the topic interesting, they didn’t fully grasp how many holes there are to seal in a new home under construction.
To illustrate the point, each student was given a can of expanding foam sealant to seal all of the holes they could find in a home that had just passed a rough-framing inspection. They burned through the entire case and still found more holes to seal.
RELATED
- 5 Ways Home Builders Can Maintain Quality Despite Supply Chain Issues
- Wall Framing Techniques to Improve Thermal Performance and Lower Costs
- Gaps Are Good: Leave Strategic Gaps in Construction to Limit Cracks and Callbacks
Today, builders do a good job of air sealing in part because air-sealing products are commonplace but also because energy codes now require whole-house airtightness levels below 3.0 air changes per hour (ACH) in most climate zones.
Expanding spray foam still rules when it comes to many air-sealing applications, but it isn’t always the best choice. Spray foam takes some finesse to apply properly, and too often the worker assigned the task is either lacking adequate training or is simply moving too fast to do it right.
3 Essential Air-Sealing Tips
The most common issues we see with air sealing are around windows and doors, at the sill plate, and at the top plate. Consider these tips and alternative product applications as you prepare to air seal your next house—and stop wasting money on applications that don’t survive construction.
1. Air-sealing around windows
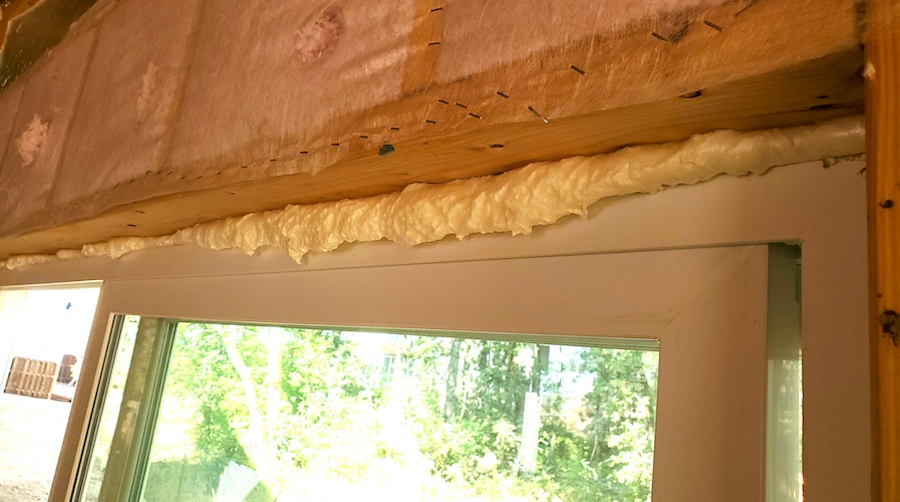
Use a low-expansion spray foam to seal around windows. But be aware that if the foam is applied excessively, it will expand out of the gap between the window frame and the rough opening and will create an obstruction for the drywall returns (see opposite page, lower right). Then when the drywallers come through they’ll often use a hammer to remove the excess, most likely destroying the installation altogether.

To prevent that scenario, foam installers should go back through the house once the foam has firmed up and carefully cut away any excess that would get in the way of the drywall installation.
2. Air-sealing perimeter sill plates to the floor
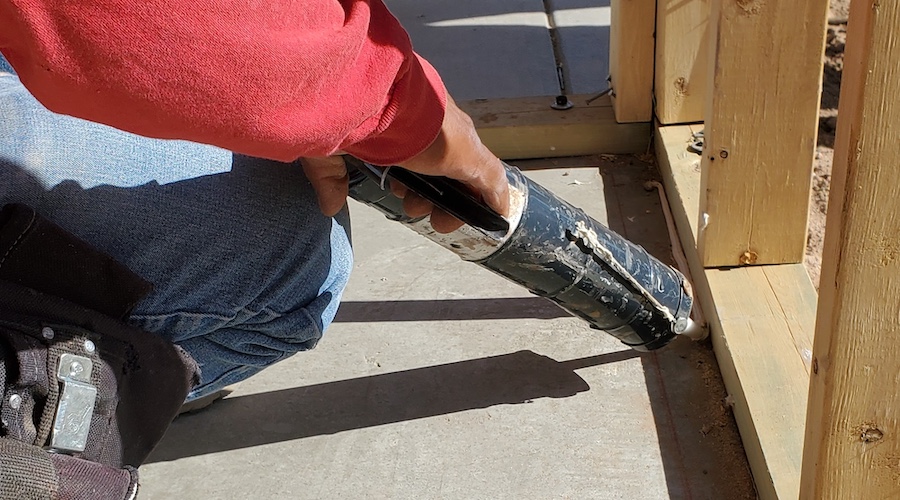
A two-step approach is often used at this connection to ensure a reliable seal. The first step is for the framing crew to seal under the sill plate. Construction glue, rope caulk, or a closed-cell foam tape can all effectively be used to seal the sill plate to either a concrete slab or the subfloor material.
The second step is to apply a seal along the joint where the plate meets the floor. Most framing or insulation crews use spray foam here, but it often doesn’t seal this connection very well. As with windows, the foam may expand to the point of being in the way of the drywall, and perhaps even the finished floor material, or it simply doesn’t bond well with the wood or concrete.

A more effective method is to apply a bead of construction adhesive to seal the sill-subfloor joint—especially at tight corners where those materials meet. The large tip of the 28-ounce tube does a great job of applying a heavy bead into this joint by adhering to both surfaces and enabling a clean drywall installation.
3. Air-sealing the top plate to the drywall
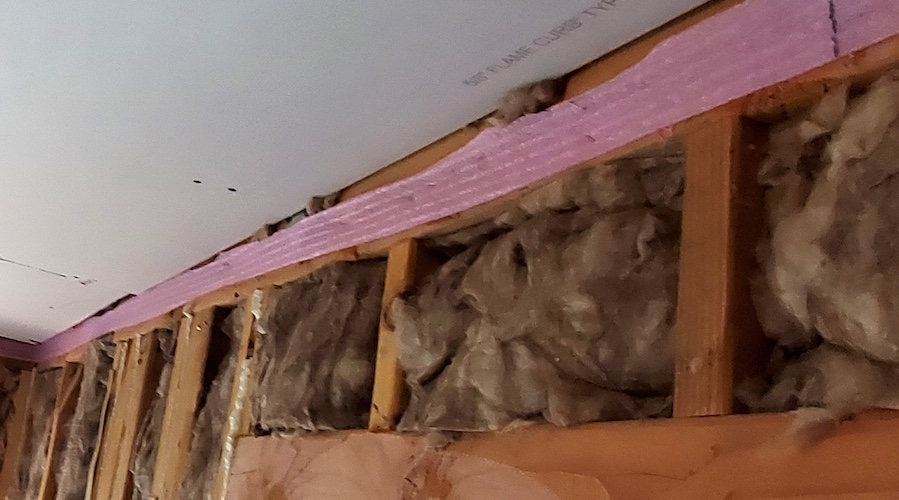
Top-plate gaskets must be pliable and robust to endure drywall installation.
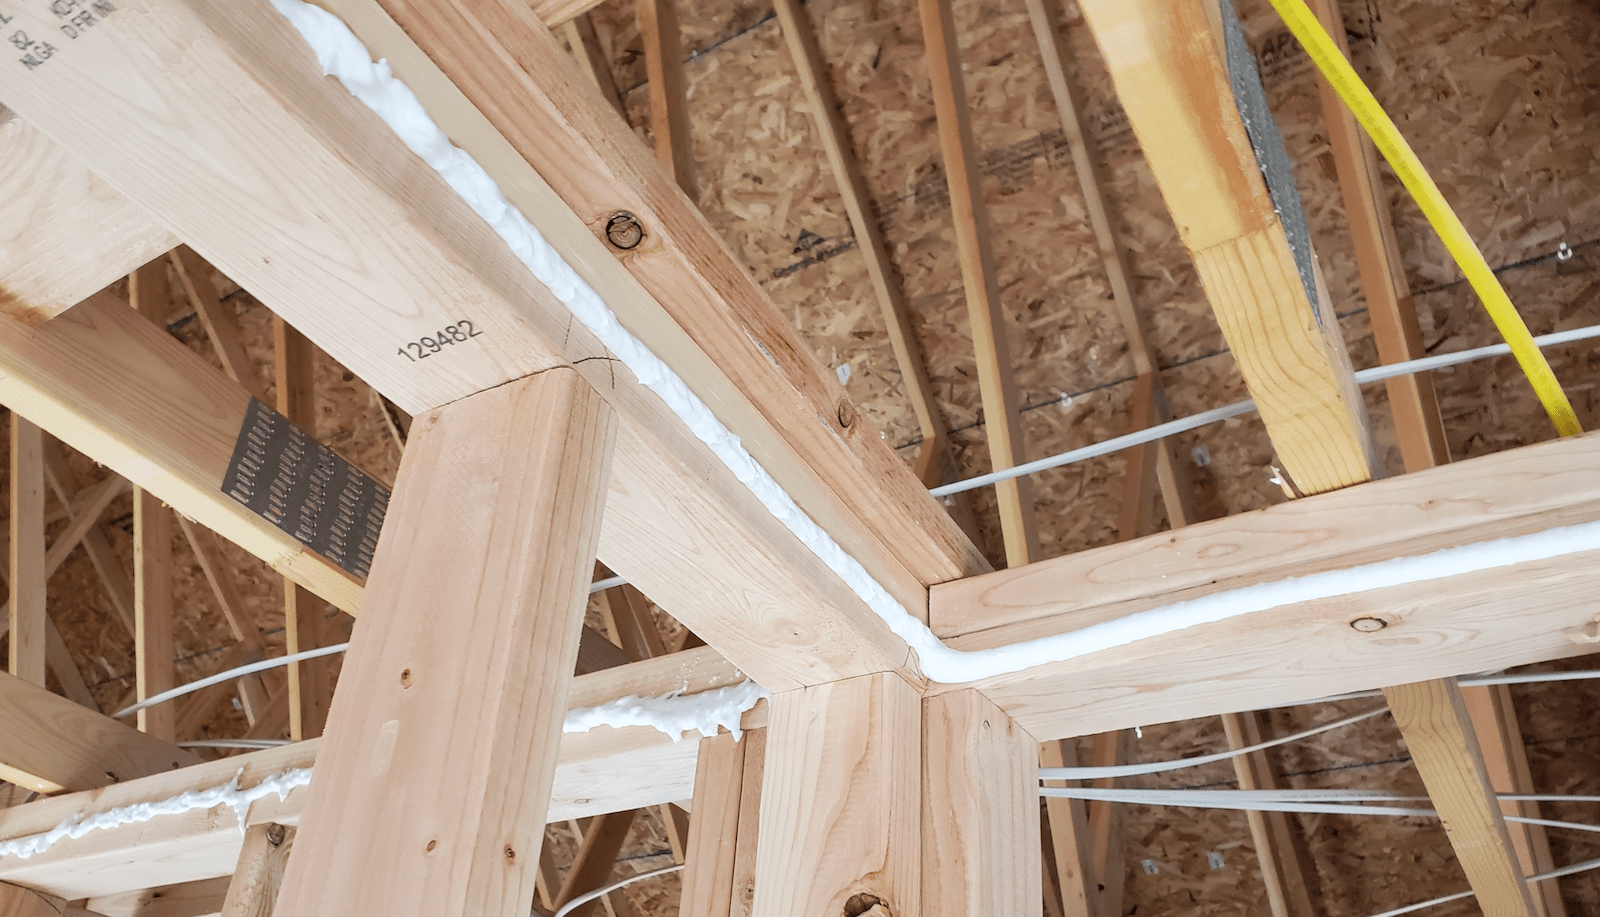
The two most common methods we see used for sealing this air-leakage point are either a closed-cell sill-seal foam tape or a bead of expanding foam. Both methods and materials are vulnerable to misapplication and being rendered ineffective.
For instance, we often observe the foam tape installed with too few fasteners, while the spray foam is often applied too thick. Both options are prone to damage by drywall crews, as well as during ceiling installation and application of wall finishes.
To mitigate those issues, your quality standards should specify two things: first, that the sill-seal tape should be installed with staples spaced no more than 12 inches apart to make sure the tape survives drywall hanging activity, and second, that the spray foam is applied in an even thickness of about ¼ inch.

A more durable product than either of those options is a water-based elastomeric sealant that creates a gasket between the top plates and the drywall. It also bonds well with the framing and is applied with tapered edges that don’t catch the drywall panels during that phase of construction.
Another option is to use a water-based expanding foam applied with a fine nozzle. The foam is compressible, has excellent adhesion, and remains pliable.
The Essential Air-Sealing Question ...
The question is not whether these and other potential air-leakage points have been addressed but rather, does your approach to sealing them use the best options that will stand up to the rigors of subsequent construction activity and remain effective?
MORE ON AIR-SEALING AND BUILDING TIGHT...
- For Better Indoor Air Quality: Build Tight and Ventilate Right
- 5 Steps to Cracking the Code for a High-Performance Home
- Achieving Comfort Above the Garage


