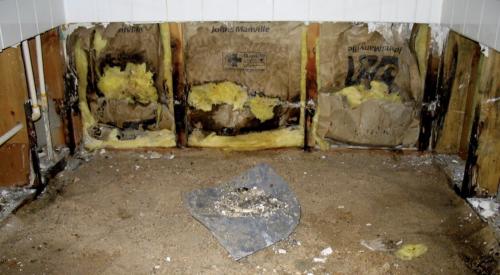
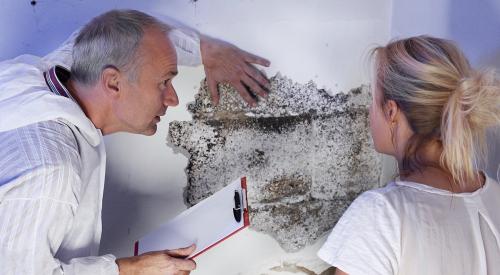
Mold has had its 15 minutes of fame over the last few years. Though the hype has died down, mold—and mold remediation—in homes is still an important issue. Customer complaints require home builders to have a fast action plan, both to clean up the mold problem and to show customers that a quality home builder (you) is looking out for their health and safety and the durability of their home.
There are two important things to remember about mold:
1. Prevent it by doing things right the first time
2. When you do face mold, take care of it immediately.
Ensuring your warranty team follows a process for mold cleanup and remediation will take care of the latter.
The following steps, which can be adapted to fit within your company's policy, serve as a basic process for quickly remediating mold problems.
5 Steps for Mold Remediation and Mold Remediation
Step 1: Learn about the role moisture plays in mold growth
Assessing mold growth involves more than just looking at what's visibly growing on the walls or in a corner. Mold can be an invisible intruder, growing behind and around what you first see. Such devious behavior requires inquisitive thinking.
First, understand that behind all mold growth is a water or moisture problem. Second, become a master of moisture — know where moisture comes from and how it gets into the home. The ultimate goal of these two steps is for warranty representatives to identify a moisture source and use its location to help locate all mold growth, not just what's immediately visible.
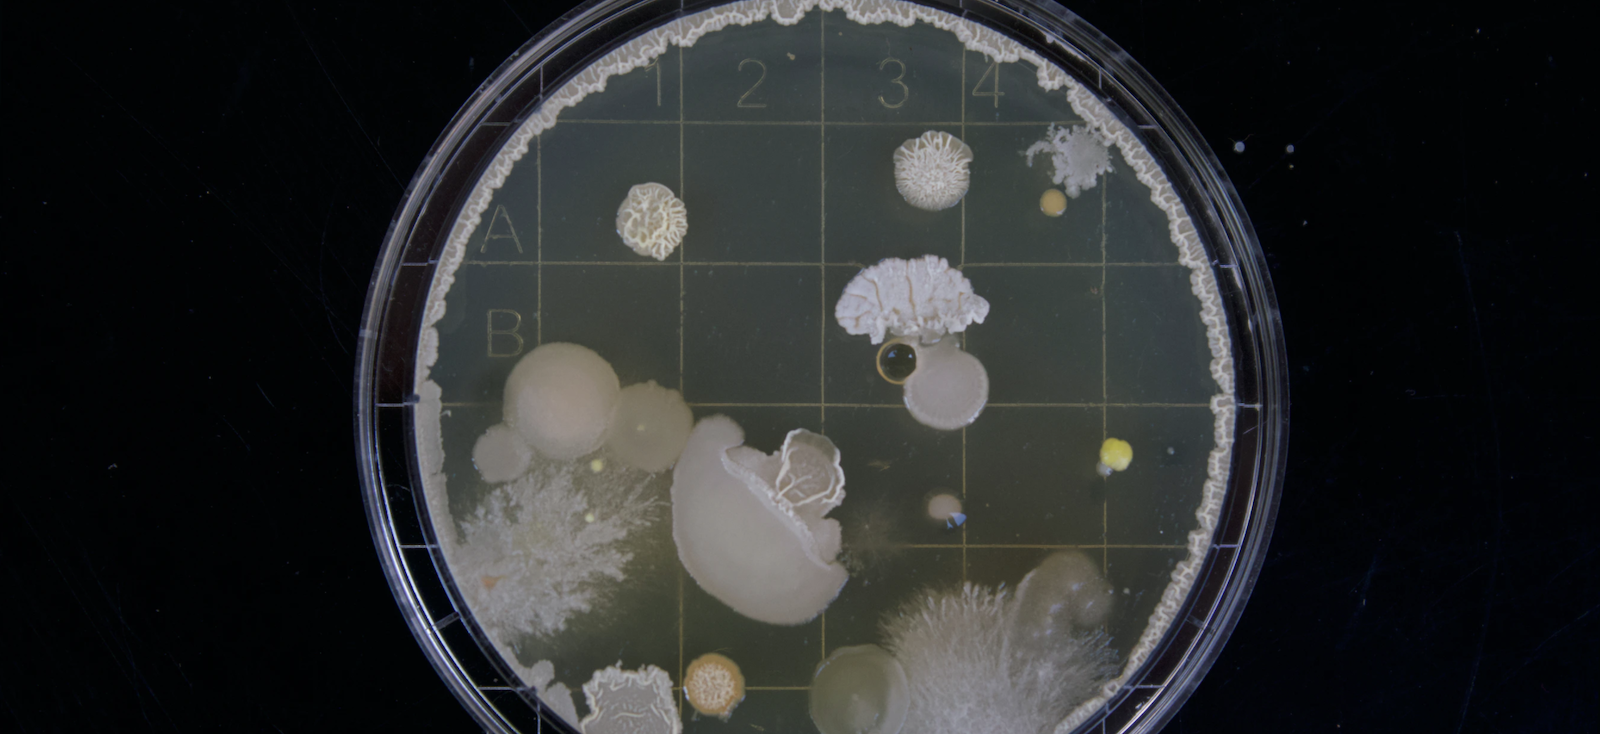
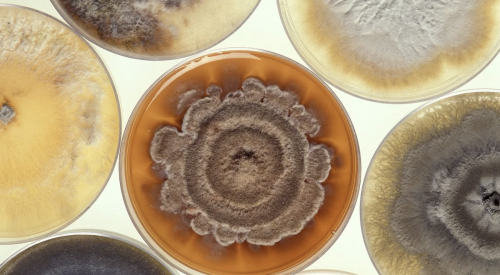
Mold grows by releasing its reproductive cells (spores) into the air. Spores are invisible to the naked eye, and mold can spread and grow anywhere in the home as long as moisture and oxygen are present. Common surfaces that harbor mold growth include drywall, insulation, tile, fabrics, and wood.
Step 2: Document the mold problem and create a mold remediation plan
Before you begin mold cleanup and mold removal, document the mold situation with writing, photos, and video. The warranty team supervisor will use the documentation to develop a remediation plan, which typically answers questions such as when work is slated to begin, when that work is scheduled to be completed, who will be performing the remediation, any testing that should be done, and if homeowners will be temporarily relocated.
In the longer term, the documentation can help manage liability for your company or point to larger trends in mold growth.
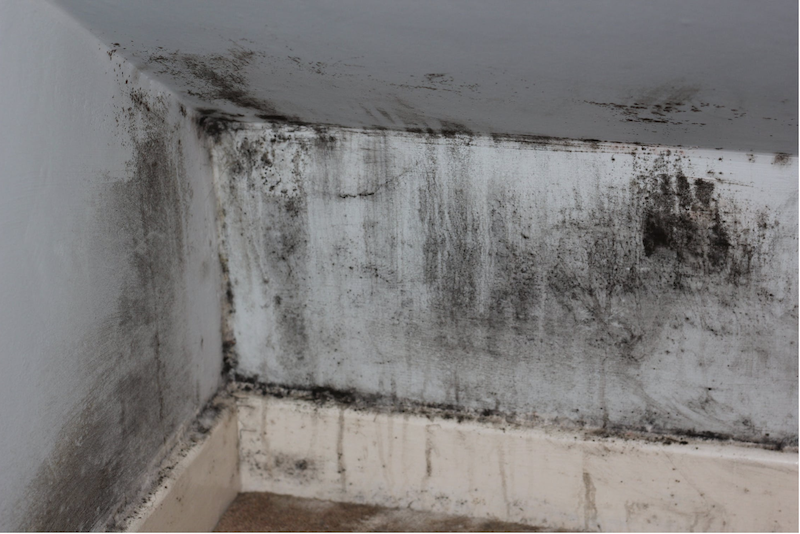
Step 3: Calculate the extent of the mold contamination
Mold may not always grow in one area, so you need to figure out how much contamination you're really looking at. Calculating the extent of the contamination will impact how you approach mold removal and clean up. The goal of mold removal is to clean up mold growing within the home, and to avoid exposing homeowners to large amounts of mold.
The New York City Department of Health (NYC DOH) has developed guidelines for cleaning up mold contamination. These guidelines are widely used in the construction industry and recommend six levels of mold removal based on the square footage of the mold and whether or not the mold is located within the home's HVAC system. Following the NYC DOH's guidelines, available online, calculate the remediation level needed.
Step 4: Remediate mold contamination
Mold removal and remediation will always involve cleaning up existing mold while avoiding exposure to oneself as well as homeowners, as well as preventing new growth by addressing the moisture source. Based on your calculation of the contamination area, determine if you're working in an area up to 30 square feet (approximately the size of a full sheet of drywall). If so, you'll be following the guidelines for remediation levels 1 and 2. Level 1 remediation is used for small, isolated areas of mold up to 10 square feet and Level 2 remediation covers square footage from 10 to 30 square feet.
The cleanup process is the same for Level 1 and Level 2 mold remediation and is comprised of these steps:
- Repair the water problem. This will help prevent new mold spores from growing.
- Isolate the contaminated area. Close all doors and windows between the contaminated area and other rooms of the home for both levels. For Level 2 remediation, also cover all doorways and any other openings with 6 mil polyethylene sheeting. Seal all seams of the sheeting with duct tape and slip openings in the sheeting to enter the contaminated area.
- Suppress dust. Do this by misting the contaminated areas.
- Remove materials. Remove all wet and mold-damaged porous materials. Check with your supervisor and reference Environmental Protection Agency (EPA) documents on mold remediation if you're not sure which materials to remove.
- Place materials in plastic bags. Discard all wet and moldy materials in plastic bags that are at least 6 mil thick, double-bag the materials, and tie the bags closed. The bags can be disposed of as regular trash once the outside of the bags are wiped with a damp cloth and detergent solution prior to leaving the contamination area.
- Clean. All non-porous materials and wood surfaces that are moldy must be cleaned. Use a wire brush on all moldy surfaces and then wipe the area with disposable wipes. To dispose of as regular trash, discard wipes in 6 mil polyethylene bags, double-bag and tie closed. Finally, scrub all moldy surfaces using a damp cloth and detergent solution until all mold has been removed and rinsed cleaned surfaces with clean water.
- Clean the affected area and egress. The process for Level 1 differs from Level 2 at this point. For Level 1, clean with a damp cloth and/or mop with detergent solution. Level 2 requires you to vacuum all surfaces with a HEPA vacuum, and then clean all surfaces with a damp cloth and/or mop and detergent solution. Discard wipes as described above.
- Visibility test. All areas should be visibly free of contamination and debris — no dust and dirt means no mold.
- Dry. Cleaned materials should be dried to allow leftover moisture to evaporate. To speed up the drying process, use fans, dehumidifiers or raise the indoor air temperature.
- Replace. All materials that were moved should be replaced or repaired.
Reference the remediation plan during the actual remediation to make sure it's being followed. If additional mold is discovered during the clean up, the warranty supervisor should update the plan.
For contamination areas greater than 30 square feet, many builders hire outside mold removal firms to perform the clean up. In this case, you and your team switch from actually performing mold remediation to supervising a qualified contractor. Having a general understanding of the proper procedures an outside company should be following is useful. The NYC DOH guidelines address such procedures for Level 3 contamination and above.
Step 5: Determine if mold cleanup has been successful
Just because the mold is gone and there's no dirt or dust doesn't mean that you're done. Your last step is to determine if your clean-up efforts have been successful. While this last step is a judgment call, there are some options and guidelines to follow.
The EPA document, Mold Remediation in Schools and Commercial Buildings, is a great resource that provides guidelines for helping you complete your clean up efforts. Some of these guidelines include:
- The moisture problem has been fixed. Verify this by revisiting the home soon after remediation — you shouldn't see any signs of recurring water damage.
- No sign of visible mold, mold-damaged materials or moldy odors.
- Homeowners should be able to occupy or re-occupy the home without physical symptoms or aggravated health complaints.
Depending on your company and the specific details of a mold problem, additional testing by an environmental testing company may be performed after the clean up to verify that all mold has been removed.
When it comes to mold, the key is to implement a comprehensive moisture management strategy. Potential liability and health issues from mold can be dramatically decreased by doing it right the first time. Clean up must be immediate and thorough, following a process like the above steps. It may sound over-simplified, but the primary failure in response to homeowner complaints is simply the fact that builders don't respond fast enough, or with the emphasis that the issue is potentially serious.
Minimum personal protection equipment for levels 1 and 2 remediation includes an N95 respirator, eye goggles without vents and rubber gloves that extend to mid-forearm.
Got Mold? What Next?
Following an immediate and thorough remediation plan is essential for mold removal and showing customers you're committed to acting quickly.
Before entering a home to assess a mold growth situation, make sure you have the necessary personal protective equipment.
Additional Resources
- From APA – The Engineered Wood Association, “Build a Better Home: Moisture Resistant Wall Construction,” outlines sources of moisture in wood wall construction
- For Better Indoor Air Quality: Build Tight and Ventilate Right
- Moisture-Control Techniques for Wood-Framed Homes
- Video: Quarantine Crawlspace, An Encapsulation Remodeling Project
